One of the questions that I get asked every now and then from couples, is to what degree I edit their images post wedding. So, to try and explain this, and what better way to do this than with images, here’s what I do.
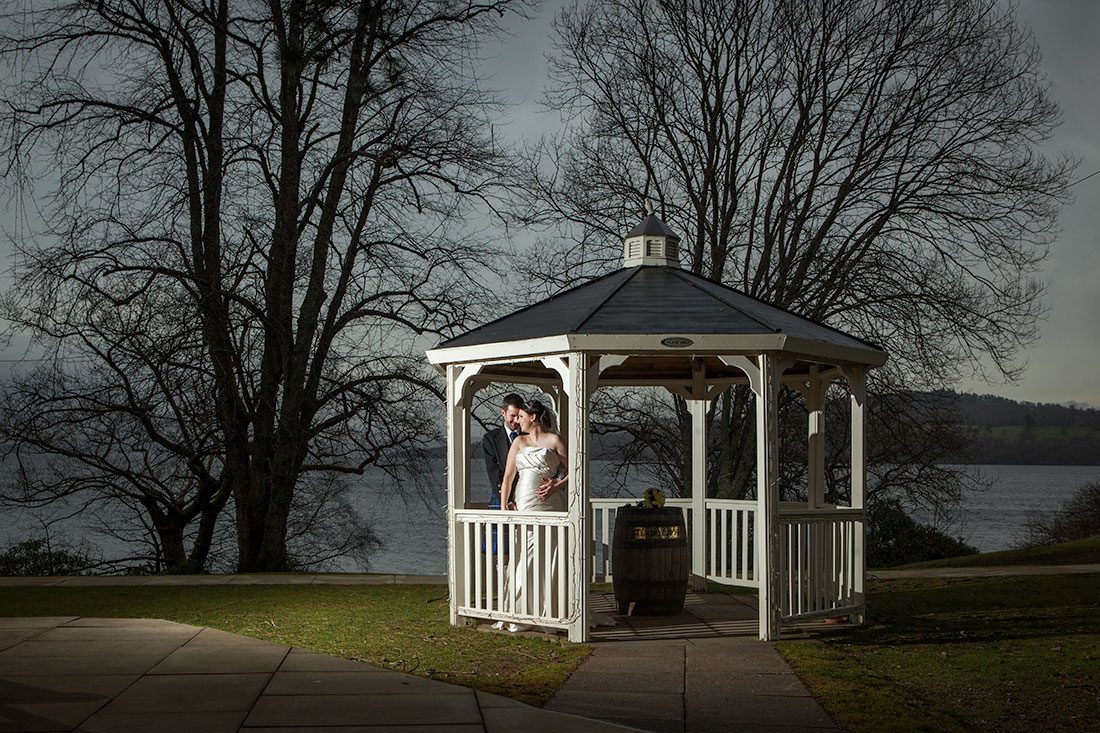
The Original

Above is a recent image from Stephanie & Richard’s wedding at The Cruin, Loch Lomond. The image as you see it is straight out of camera, with no adjustments made at all. My thought process behind the shot was to put the guys in the gazebo, and then use an off-camera flash to the left to throw some light on them, keeping the background kind of moody to reflect the conditions on the day. Now, firstly, I would never give an image like this straight to the couple without some adjustments and there’s four things in the above that jump out at me straight away:
- the horizon is not straight – forgive me guys, but, unless I spend an eternity on the day with a spirit level, then this is a common issue
- I’ve caught the edge of the waste bin to the extreme left of the image
- there’s too much light on the couple and also the left side of the gazebo
- there’s a few spots to the top right caused by dust on the camera’s sensor
The Edit
Here’s the same image with the adjustments. Firstly, I’ve straightened the horizon and in turn cropped slightly to remove the waste bin. I’ve then toned down the highlights so that the couple aren’t so brightly lit, all of which make for a more pleasing image. The spots have been removed with a tool called the “healing brush”. In addition, the contrast has been boosted a little, along with the vibrance. The image has also been “warmed up” a little and a subtle vignette has been added to the edges to draw the eye into the shot. Finally, I’ve lifted the shadows a touch so that you can see a little more detail in the dark areas (the barrel is a good example of this).
I hope you agree that with all these adjustments made, the image is much better than the original.
I supply all the images from the day to couples as part of all my wedding packages and the above image is typical of the way in which they will all be finished, ie with a few basic adjustments and in full colour.
The Album Edit
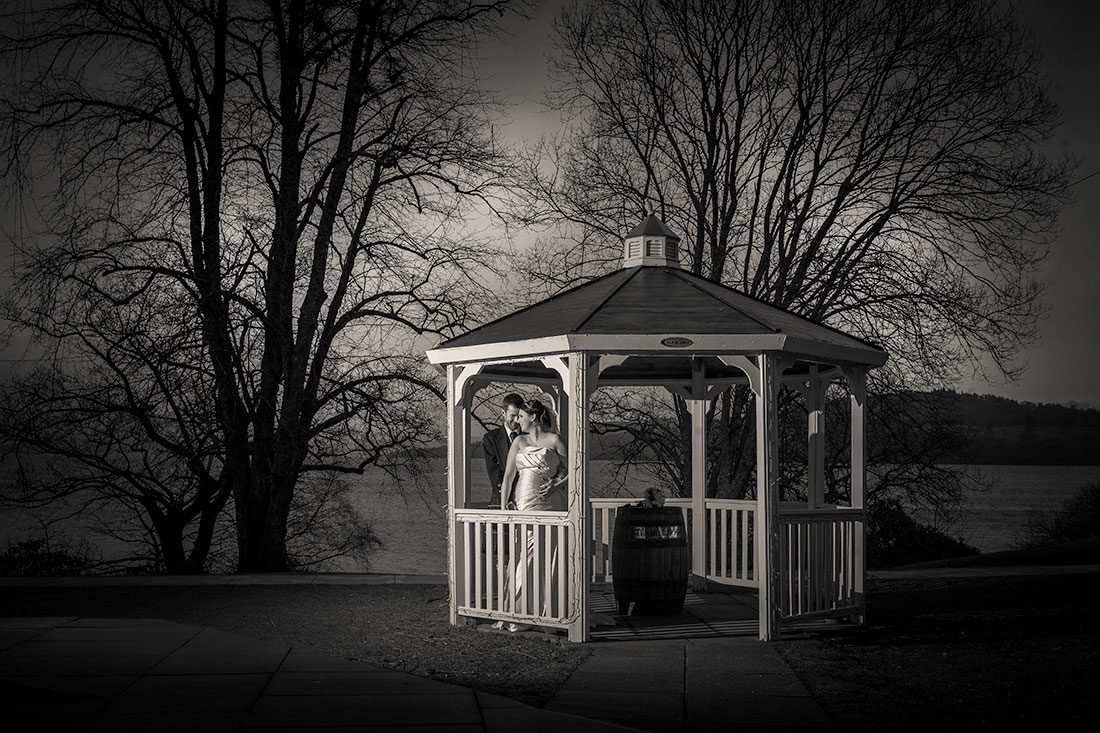
Now, for couples that have ordered an album, a different process altogether kicks in. For me, an album should contain images that really have that “wow” factor and, therefore, all the images I use in an album design will have more editing done on them. Take the above example – firstly, it’s clearly been converted to black & white, that much is obvious. I’m going for a more dramatic effect here so b&w suits the mood better than colour. What I’ve also done is to use a technique called dodging and burning – I noticed that the light from the flash was adding too much light to the paved area on the left, so this has been darkened down using the “burn” tool in Photoshop. I also wanted a bit more light coming from behind the trees, so have used the “dodge” tool to subtly lighten these areas, providing a more “mysterious” look, if that’s the right word. A more pronounced “vignette” has also been added to the edges of the image.
Here’s another take on the album edit…
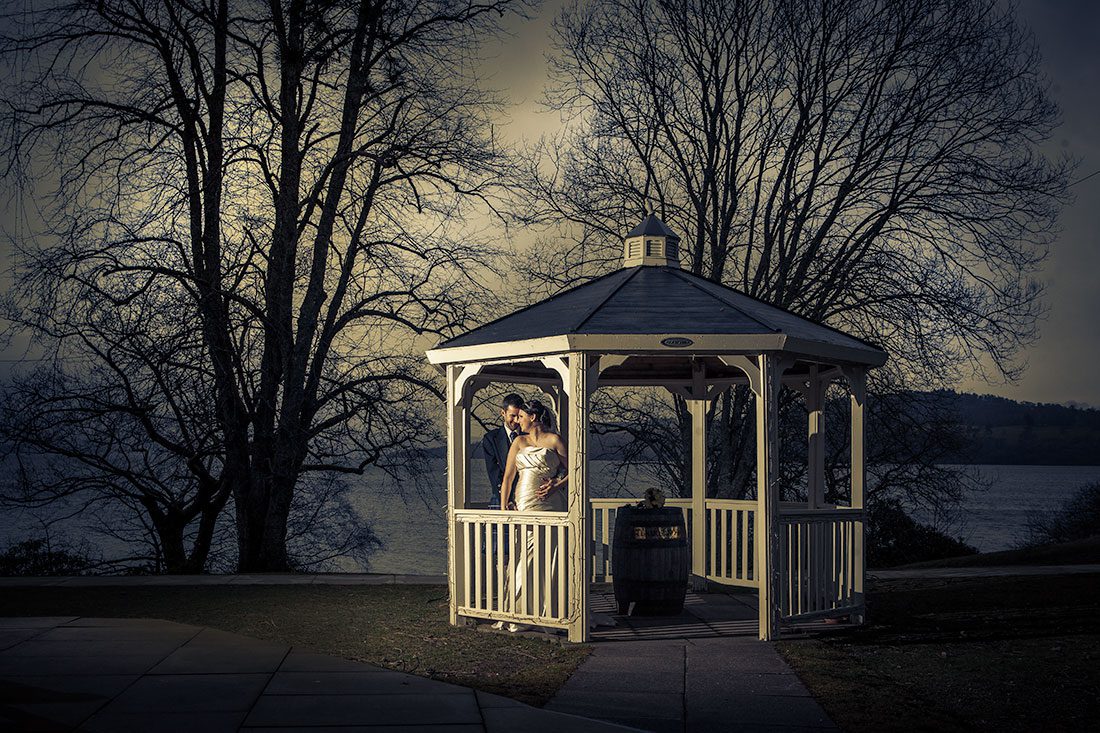
This time, I’ve left it in colour but have toned the image to create a more vintage effect by adding yellow and blue tones, which again, I feel suits the mood of this image. The same dodging and burning technique has been added as above but I’ve also added a subtle pale yellow light behind the tree to the left, simulating the sun behind the clouds, again, adding to the mood.
Honestly, there are so many ways in which an image can be edited these days, thanks to the wonders of Photoshop and the like, but I still feel that the edit must represent the mood of the image. This one, for example, would not look good, in my opinion, with bright vivid colours. But photography is an art and, as such, is subjective, so each to their own I guess…
Summary
So, you might be thinking why I don’t apply the level of editing that I do for an album to all the images that I supply to couples as part of their package? Well, it’s a question of time and numbers. Firstly, the editing of an image for the album can often take about 10-15 mins each. On average, I give couples about 500 images from their wedding day and 500 x 15 mins = 7500 mins = 312 hours = approx 13 days, and 13 days to edit one wedding is not practical I’m sure you’ll agree. Also, I find that by giving couples all the images from the day all edited to a consistent standard, this provides the most flexibility for couples when using the images for themselves. For example, they may not want a black & white or toned image as they’re then stuck with it with no way of getting it back to the original format (unless they ask me).
Albums, on the other hand, are meant to be showpieces and therefore deserve a lot of time devoted to the design to make them look stunning.
I do hope you agree but, as always, I’m sure there will be different viewpoints and naturally, please feel free to leave your comments below.
Mike


